Mastering the Art of Hanging Your Artwork
Are you wondering how you’re supposed to hang artwork? Hanging artwork is an art in itself, a delicate dance of aesthetics and precision that elevates the ambiance of your space. It’s not merely about putting a nail in the wall and hoping for the best; it’s about curating a visual symphony that harmonises with your decor and captures the essence of the art piece. To truly make your art shine in your space, follow these essential steps:
1. Plan Your Layout:
Before you start hanging artwork, plan where you want to hang your artwork. Consider the wall, eye level, and the relationship between multiple pieces if you’re creating a gallery wall.
2. Gather Your Tools:
You’ll need a measuring tape, a level, a hammer, nails or wall anchors, and picture hooks to hang your artwork. Make sure you have the right hardware for the weight of your artwork.
3. Choose the Right Height:
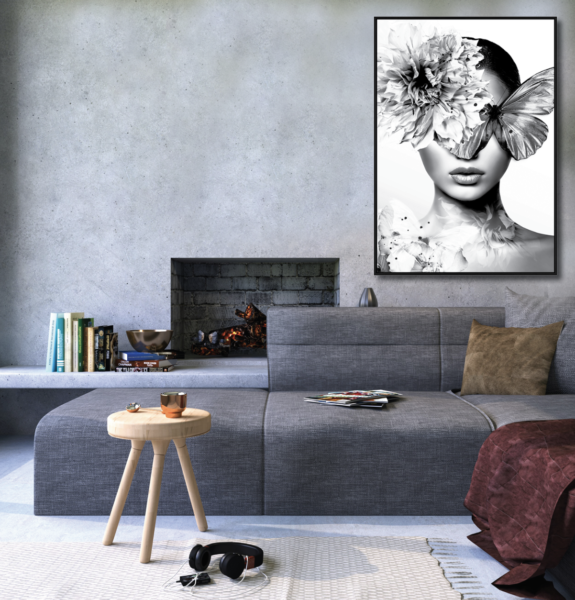
Hanging artwork is typically done at eye level, which is around 145-152cm from the floor to the centre of the artwork. Adjust this based on your room and personal preference.
4. Measure Carefully:
Measure the distance between the wire on the back of the frame and the top of the frame. Mark this distance from the chosen hanging height. This is where you’ll place your hanger.
5. Mark the Wall:
Use a pencil to mark the spot where you’ll place your hanger or hook. Use your level to ensure it’s straight.
6. Hammer in the Hardware:
If you’re using a nail or wall anchor, gently tap it into the wall on the marked spot. If you’re using a picture hook, simply hook it onto the wall.
7. Hang the Art:
Carefully hang your artwork on the hardware. Ensure it’s secure and level.
8. Check for Balance:
Step back and check if the artwork is hanging straight and at the right height. Make adjustments as needed.
9. Create Gallery Walls:
For gallery walls, arrange your artwork on the floor first to find the right composition. Then follow the same steps for hanging, making sure the pieces are evenly spaced.
10. Maintenance:
Periodically check the hardware to ensure it’s secure. Artwork can shift over time, so it’s a good idea to make any necessary adjustments.
With these steps, you can confidently hang your artwork like a pro, creating a visually pleasing and well-balanced display. Your art will become an integral part of your home’s decor, adding character and charm to your living space. Happy decorating!
For some artwork inspiration, check out this instagram post https://www.instagram.com/reel/CwWVwMBpo9Q/. And if you find the idea of DIY too daunting and you’re thinking about calling in a professional but not sure, please read this blog to help make up your mind https://www.spruceinteriors.com.au/saving-money-by-hiring-an-interior-designer/
And because we ‘re generous and love to share, here are a couple of links to some of our trusted art suppliers:
https://www.designerboysart.com/
Many of our suppliers are trade only so if you are wanting help sourcing that perfect piece, please reach out and we’d be glad to assist, book a consult here https://www.spruceinteriors.com.au/contact-us/